The following is adapted from a series of best practice guides that reflect the New Relic Community Team’s work with thousands of customers—identifying challenges and coming up with actionable solutions for organizations getting started with New Relic Infrastructure. Also, check out our guides to getting started with New Relic APM, New Relic Mobile, New Relic Insights, New Relic Browser, and New Relic Synthetics; and discover the New Relic Community Team’s latest Best Practice Guide offerings.
Improving application performance involves more than just your company’s software. It also demands visibility into your application infrastructure: the servers and hosts, and the supporting network and storage resources, that power your applications and make them available to users.
New Relic Infrastructure offers a powerful set of solutions to your organization’s infrastructure visibility challenges. Infrastructure lets you look into host resource usage—locally or in the cloud—and also lets you monitor events on your hosts, inventory metrics, and network or storage availability. Infrastructure makes it easy to track all of these resources, and to correlate any changes to potential impacts on your host and application performance.
In this post, we will show you how to set up New Relic Infrastructure to make the most of this added visibility into your environment. (After reviewing these best practices—and, when possible, actually working with them in your organization's own environment—you’ll be ready to demonstrate your new skills by taking our Infrastructure Best Practices Quiz):
Let’s dive into our list of best practices, organized based on the Infrastructure capabilities and tasks they address.
Getting organized and getting started
Create a naming convention
Let’s begin with two of the most important tips for New Relic Infrastructure users: Decide upon an appropriate naming scheme and use it consistently.
First, a simple naming scheme for all of the elements in your account can greatly reduce the amount of time you spend looking for pertinent information. When you devise a naming scheme and apply it consistently within a specific New Relic account—for example, <env (Prod/Staging)>-<Service Name>-<AWS Region>—the host name can supply the information you need to locate a problem and to identify the right person to fix it.
Learn more about applying a naming scheme to your New Relic Infrastructure environment in our docs: Updating display names in your Infrastructure configuration file.

Implement a tagging structure
Tags are integral to organizing the hosts within your environment. They allow you to spot problems more easily by sorting and filtering groups of hosts; for example, you can add the same attribute to a number of hosts to identify them later, using the Infrastructure UI or NRQL queries.
If your hosts are in Amazon Web Services (AWS), then New Relic Infrastructure’s Amazon EC2 integration makes the process of implementing tagging remarkably simple. Any EC2 tags you add to your hosts within AWS will carry over to New Relic, allowing you to group your hosts without extra configuration.
If you’re not using AWS EC2, New Relic Infrastructure supports more than 50 other cloud and on-host integrations, in addition to offering custom attributes that you can tailor to meet your organization’s needs.
Learn more about implementing tagging using either AWS EC2 integration or custom attributes in our documentation:
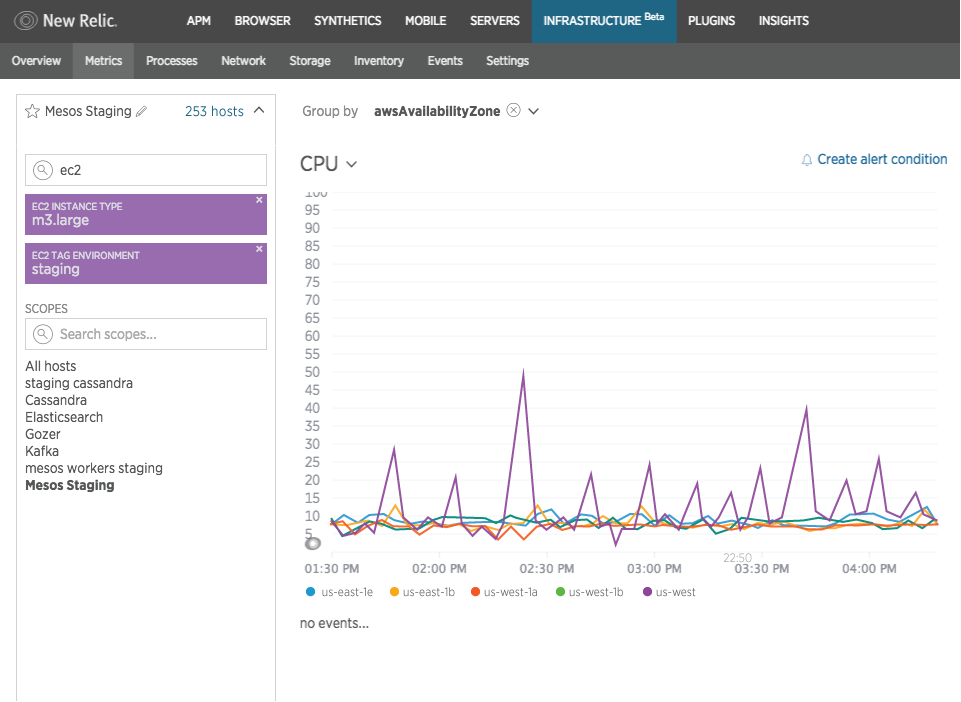
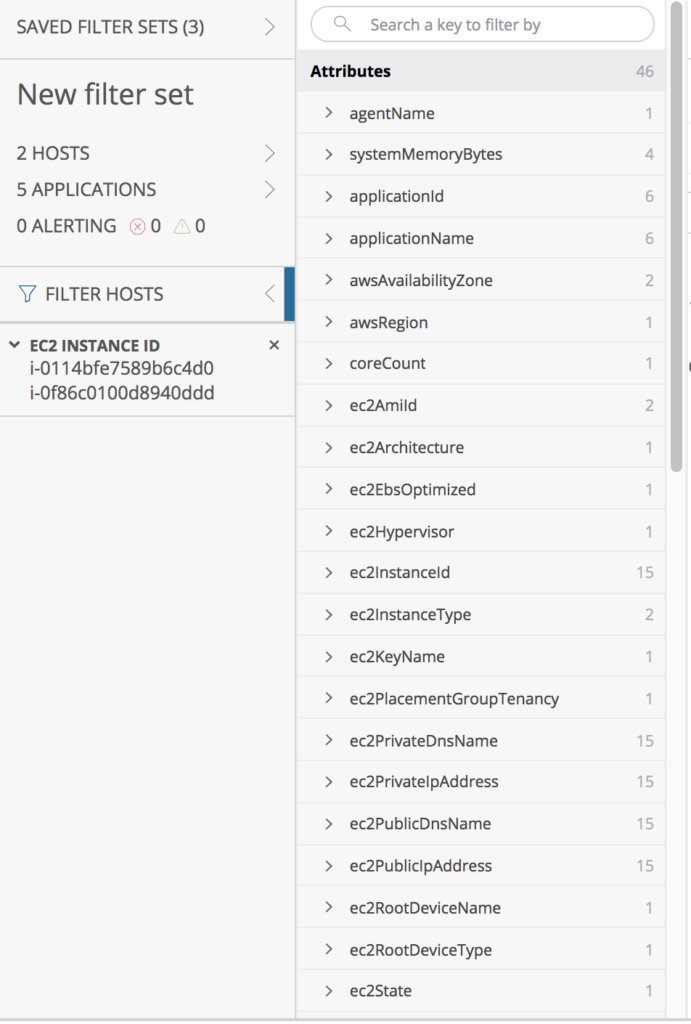
Create a filter set
Filter sets let you target any number of hosts based on a variety of attributes, including tags, hostNames, etc. You can then target filter sets with alert conditions, which saves you the time required to apply a condition to multiple hosts manually. You can also alter the charts in the Infrastructure UI to focus in on a specific filter set—letting you concentrate on the hosts that matter most to you.
Learn more about using Infrastructure Filter Sets in our docs: Filter Sets: Organize Your Hosts.
Understanding your UI
Apply a filter
By default, the New Relic Infrastructure UI shows you data for all reporting hosts. Depending on the number of hosts that you’re monitoring, applying a filter set to the UI can make your monitoring data much easier to assess and interpret.
You can create filter sets that apply to hostnames, or EC2 tags, or any other attributes that matter to you. When you apply them, the UI will focus only on matching hostnames. When you apply a filter set, it carries through to all parts of the Infrastructure UI—keeping you informed only on the hosts you need to know about.
Learn more about using New Relic Infrastructure filter sets in New Relic University: Using Filter Sets and Groups in New Relic Infrastructure.
Making data actionable
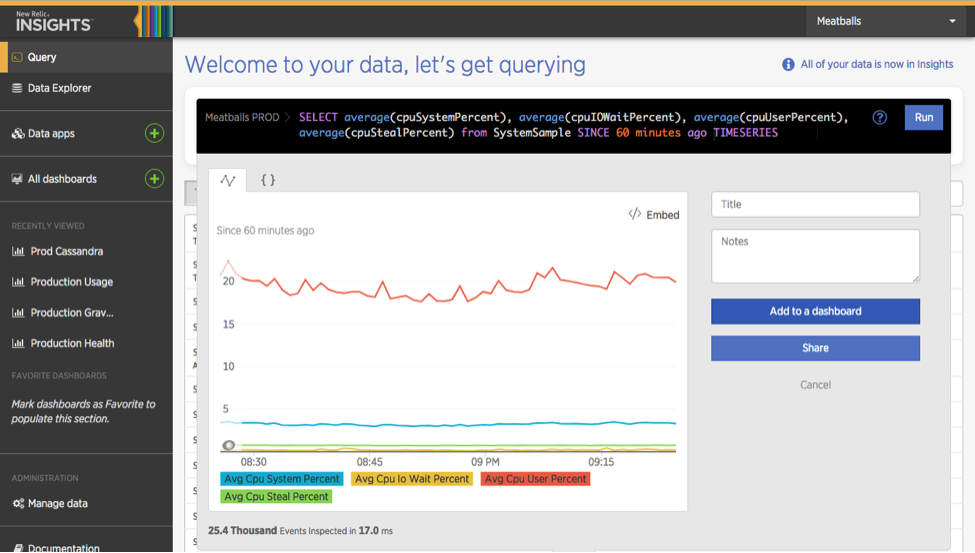
Using New Relic Insights queries
New Relic Insights gives you a powerful way to ask questions of your data—and that’s especially true for New Relic Infrastructure users. We work hard, for example, to ensure that Infrastructure data is tracked as event-based data that you can query quickly and easily, and that any chart created within Infrastructure is also available within Insights at the click of a button.
In addition, when you set up Infrastructure integrations, the setup process automatically creates a number of Insights dashboards—helping to make these integrations more valuable, more quickly, for you.
Learn more about the shared data and views within New Relic Infrastructure and Insights in our documentation: Share Infrastructure data and view in Insights.
Set up New Relic Alerts
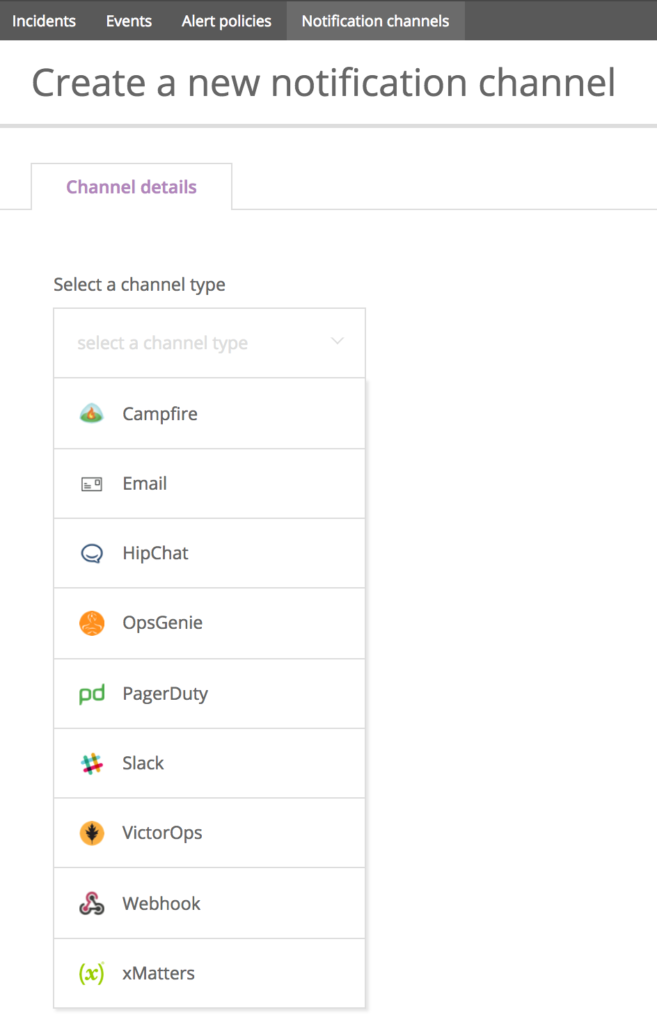
Alerts are critical factor to the monitoring process: What’s the point of monitoring if you don’t know when your applications or infrastructure is having problems are misbehaving? New Relic Alerts allows you to configure notifications using a variety of popular messaging and communication platforms (Slack, OpsGenie, PagerDuty, etc.), as well as a generic webhook to which you can send notifications.
When you get started with Infrastructure Alerts, one of the first conditions we recommend is a “Host Not Reporting” condition.
Learn more about alerting best practices, including tips on setting up a “Host Not Reporting” condition with these resources:
- Guide to Effective Alerting in Practice
- Intro to APM Alerting
- Create Infrastructure ‘Host Not Reporting’ condition
Monitor your apps, and their hosts, in one place
Health maps provide a high-level view of your host and application health in relation to one another, prioritized by health status. As long as you have both an APM and Infrastructure subscription, you can use health maps to gain dashboard-style visibility into potential problems—making it easier to find, diagnose, and fix them quickly. Additionally, you can check out how we helped ZenHub to track your infrastructure metrics.
Learn more about New Relic health maps in the video demo below, or in the New Relic docs: Introduction to health maps.
Ready to learn more?
Looking for more Infrastructure best practices and tips? Check out the Infrastructure Level Up page in the New Relic Explorers Hub for a wealth of community-generated resources on these and related topics. Check out how we use integration technology together with our customers to achieve success. And when you feel you’re ready, test your new Infrastructure skills by taking our Infrastructure Best Practices Quiz and earning your proficiency badge!


The views expressed on this blog are those of the author and do not necessarily reflect the views of New Relic. Any solutions offered by the author are environment-specific and not part of the commercial solutions or support offered by New Relic. Please join us exclusively at the Explorers Hub (support.newrelic.com) for questions and support related to this blog post. This blog may contain links to content on third-party sites. By providing such links, New Relic does not adopt, guarantee, approve or endorse the information, views or products available on such sites.


